


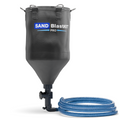
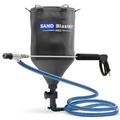


Introduction
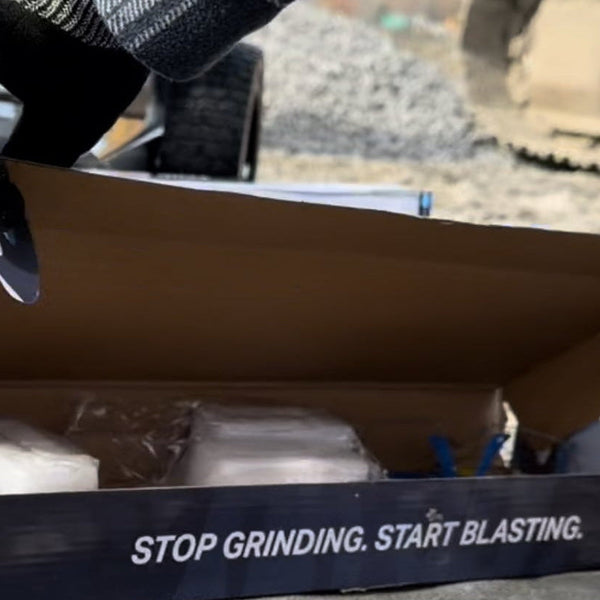
Sandblasting is one of the most effective ways to clean, strip, and prepare surfaces for restoration or refinishing. Whether you're removing rust from metal, preparing wood for repainting, or restoring automotive parts, using the right techniques and tools will make all the difference. This guide covers everything you need to know to get professional results, avoid costly mistakes, and maximize the performance of your sandblasting kit.
GET PRO SANDBLASTKIT HERE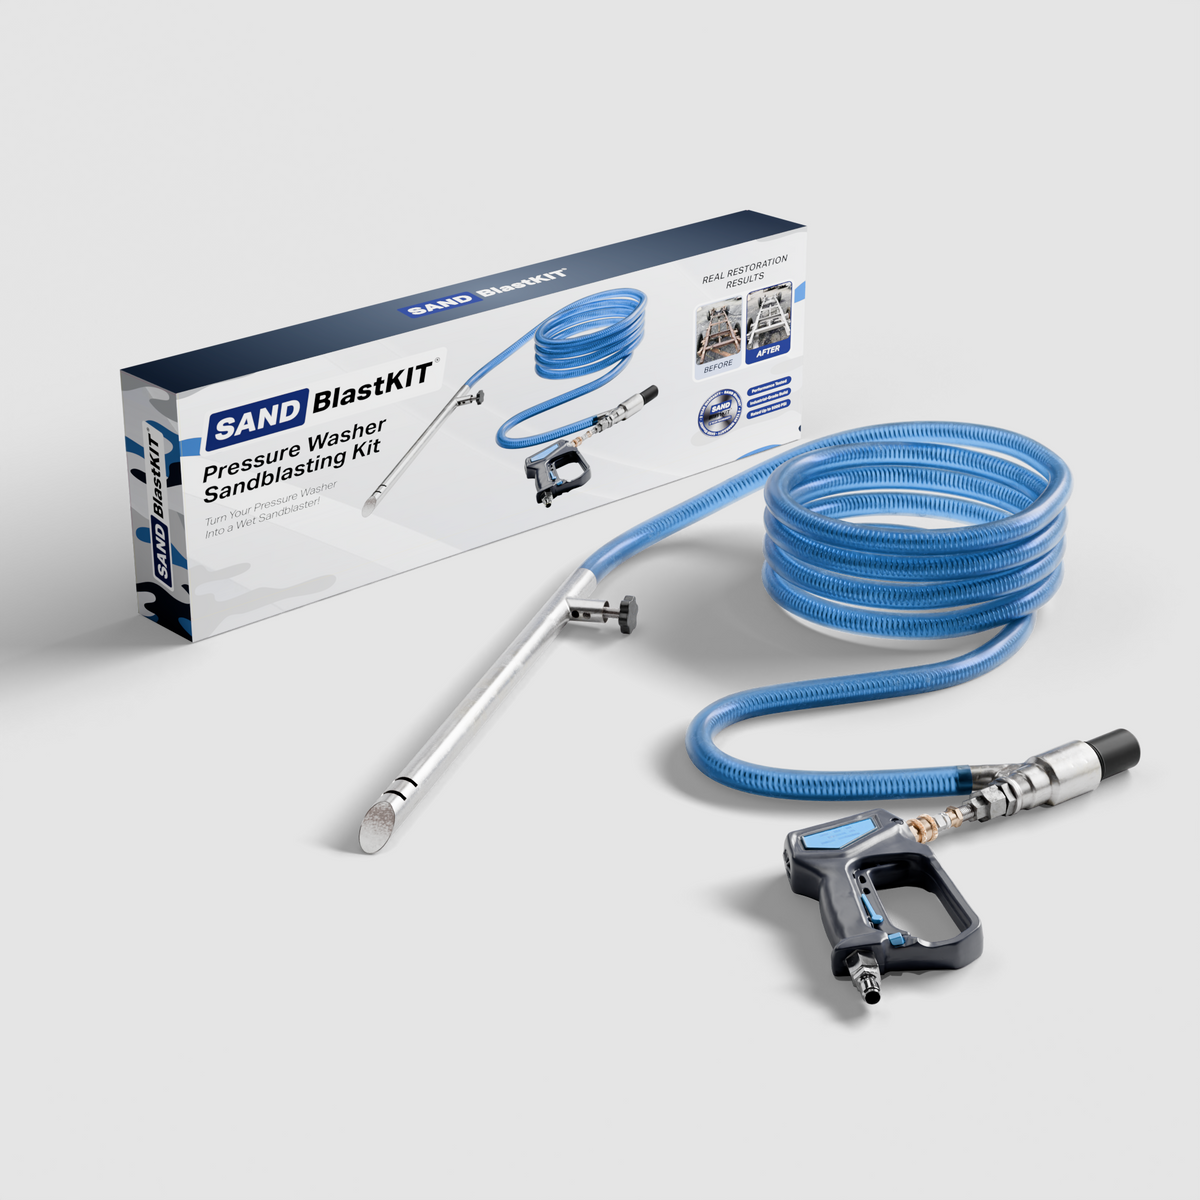
This Page Contains
The SandblastKitPro™ Full Blasting Process
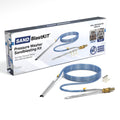
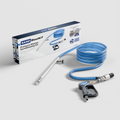
With SandblastKitPro, you are not just buying a tool. You are building a full rust removal and surface prep system. The goal is simple: blast the rust, clean the surface properly, stop flash rust, then prime and finish the job the right way.
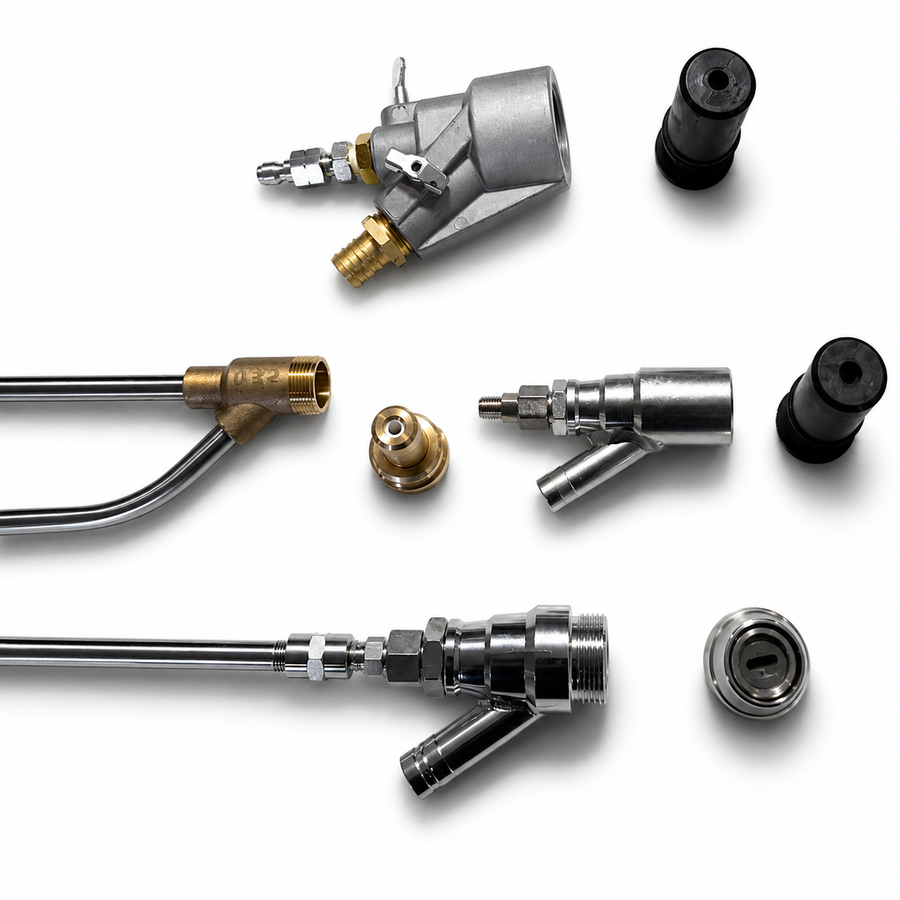
Choose the Right Blaster Setup
Before you start blasting, make sure you are using the right setup for the job.
Different jobs need different levels of cutting power, durability, and coverage.
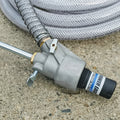
Pro Sandblast Kit™ — Ceramic Series
This is the standard setup for most users.
Best for:
- Rust removal
- Paint removal
- Trailers
- Frames
- Parts
- General restoration work
- DIY projects
The Ceramic Series works great for most jobs and is the best starting point if you are doing regular rust and paint removal.
It is built for pressure washers up to around 5,000 PSI.
Ceramic nozzles are strong, but they are wear parts. If you blast often or use aggressive media, they will wear down over time.
Pro Sandblast Kit™ — Carbide Upgrade 500 Bar
This is the heavy-duty upgrade for people who want longer nozzle life and stronger consistent cutting power.
Best for:
- Heavy rust
- Longer blasting jobs
- Frames
- Trailers
- Farm equipment
- Tough job-site work
- People blasting more often
The Carbide Upgrade uses a tungsten carbide nozzle rated up to 500 Bar, around 7,200 PSI.
It is built to last up to 10x longer than standard ceramic nozzles under the same conditions.
This is the better long-term option if you are tired of burning through ceramic nozzles.
Pro Sandblast Kit™ — Carbide Pro 600 Bar
This is the stronger pro-level version.
Best for:
- Heavy use
- Commercial jobs
- More aggressive blasting
- Frequent restoration work
- Stronger pressure washer setups
- Users who want the most durable straight-stream option
The 600 Bar version is for customers who want a more serious setup with more durability and a higher pressure rating.
Pro Sandblast Kit™ — Carbide Pro Fan 100 Bar
This version is built for wider coverage.
Best for:
- Larger surfaces
- Big panels
- Trailers
- Equipment
- Large flat metal areas
- Faster surface coverage
The fan nozzle gives a wider blast pattern compared to a focused round stream.
Use this when you want to cover more area faster.
Simple Way To Choose
- Ceramic Series: best starter setup
- Carbide Upgrade 500 Bar: best for most serious users
- Carbide Pro 600 Bar: best for heavy use
- Carbide Pro Fan 1000 Bar: best for larger areas and wider coverage
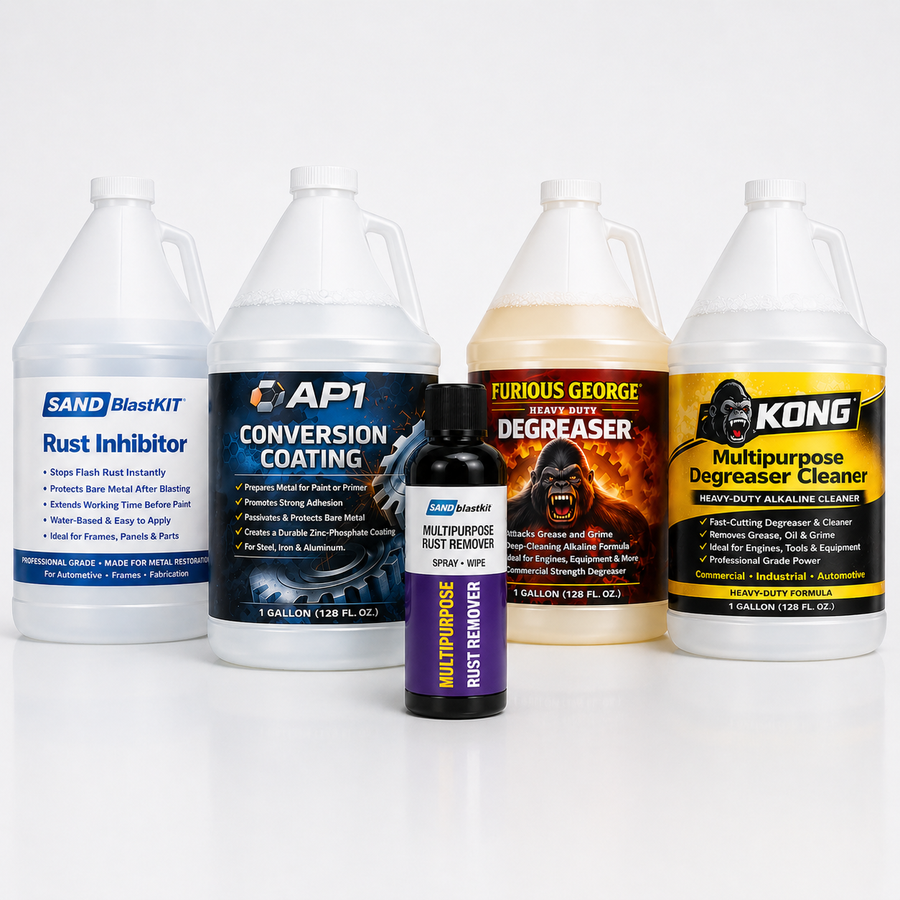
Proper Setup Before Blasting
Before blasting, check the surface you are working on.
If the surface has grease, oil, mud, or heavy dirt, clean it first.
Grease can mix with sand and water, making the blast weaker and the cleanup harder.
Use A Degreaser First When Needed
Use Furious George Heavy Duty Degreaser before blasting when working on:
- Greasy parts
- Farm equipment
- Heavy machinery
- Old frames
- Oil-covered metal
- Undercarriages
- Engine bay areas
Degreasing helps the media hit the metal properly instead of bouncing off grease, oil, or grime.
The cleaner the surface is before blasting, the better the final result.
Basic Setup Rules
Before turning on the pressure washer:
- Make sure the media is dry
- Make sure the media is sifted
- Keep the pickup tube from being buried too deep
- Do not pack the sand tight
- Keep water flowing properly
- Check that your nozzle is not worn out
- Test on a small area first
The pickup tube should sit around 1/4 into the media, not buried all the way at the bottom.
If the tube is too deep, the system has to fight the weight of the sand and the flow can choke.
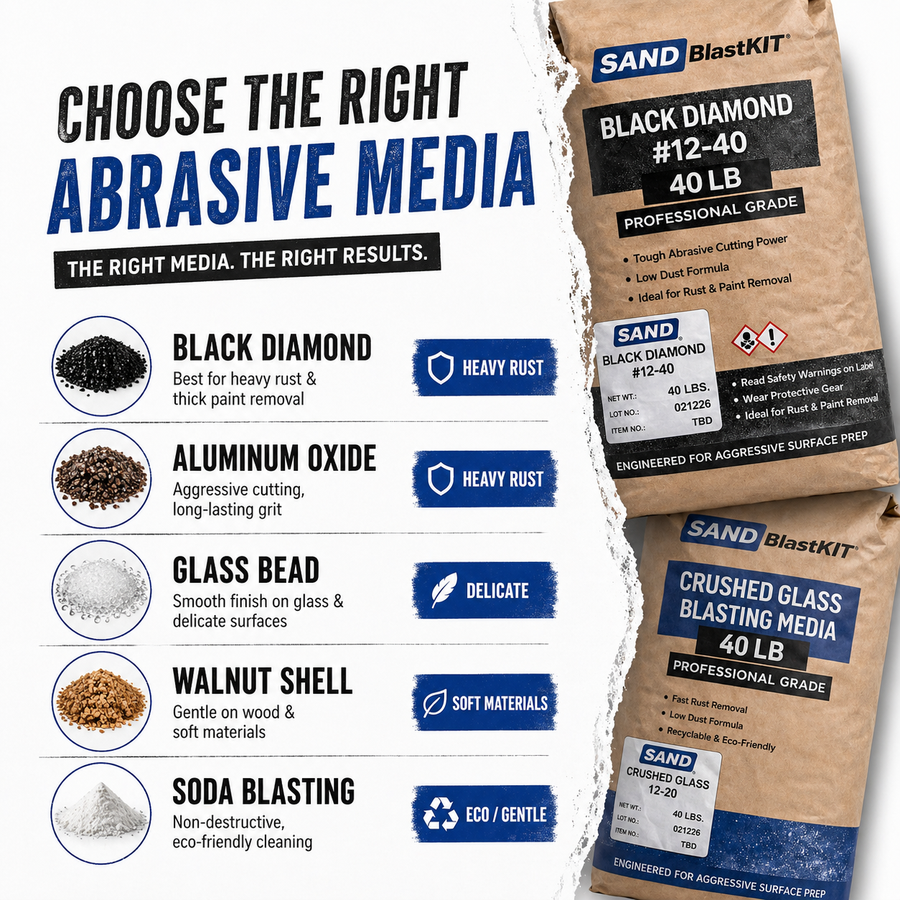
Choose The Right Media
Your media matters a lot.
The media controls how aggressive the blast feels, how fast it cuts, and how smooth or rough the finish looks.
Black Beauty / Black Diamond
Best for:
- Heavy rust
- Thick paint
- Frames
- Trailers
- Farm equipment
- Tough metal jobs
This media is more aggressive and cuts faster.
Use it when the job needs stronger rust and paint removal.
Crushed Glass
Best for:
- Lighter rust
- Paint removal
- More controlled blasting
- Smoother finishes
- Softer surfaces when used carefully
- General restoration work
Crushed glass gives more control and is a good choice when you do not want to be too aggressive.
Important Nozzle Tip
The more aggressive the media, the faster it cuts.
But aggressive media also wears nozzles faster.
If you are using crushed glass, garnet, slag, Black Beauty, or other aggressive media often, the Carbide Upgrade is the better long-term setup.
Ceramic works.
Carbide lasts longer.
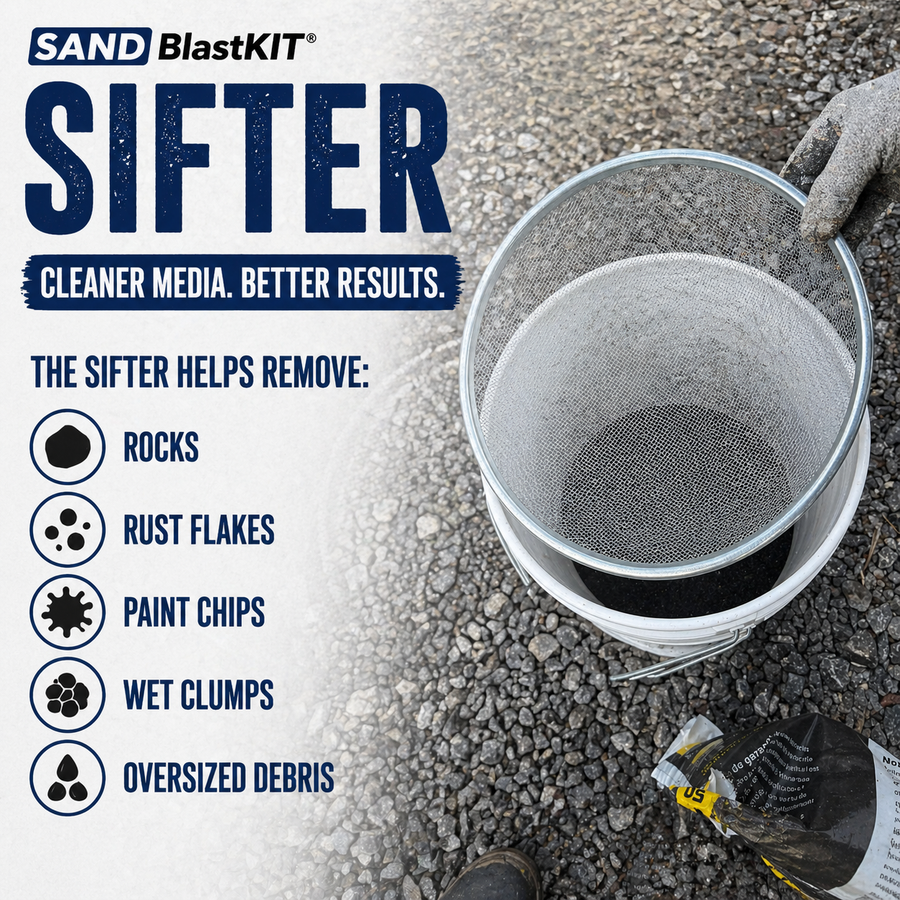
Keep Your Media Dry And Sifted
This is one of the biggest things people get wrong.
Wet or clumpy media causes:
- Weak flow
- Clogging
- Poor suction
- Inconsistent blasting
- Slower cutting
- More frustration
Always use:
- Dry media
- Sifted media
- Clean media
Use The SandBlastKit Sifter
The sifter helps remove:
- Rocks
- Rust flakes
- Paint chips
- Wet clumps
- Oversized debris
This is especially important if you are reusing media.
Dirty reused media can clog the hose, damage the nozzle, and make the blast feel weak.
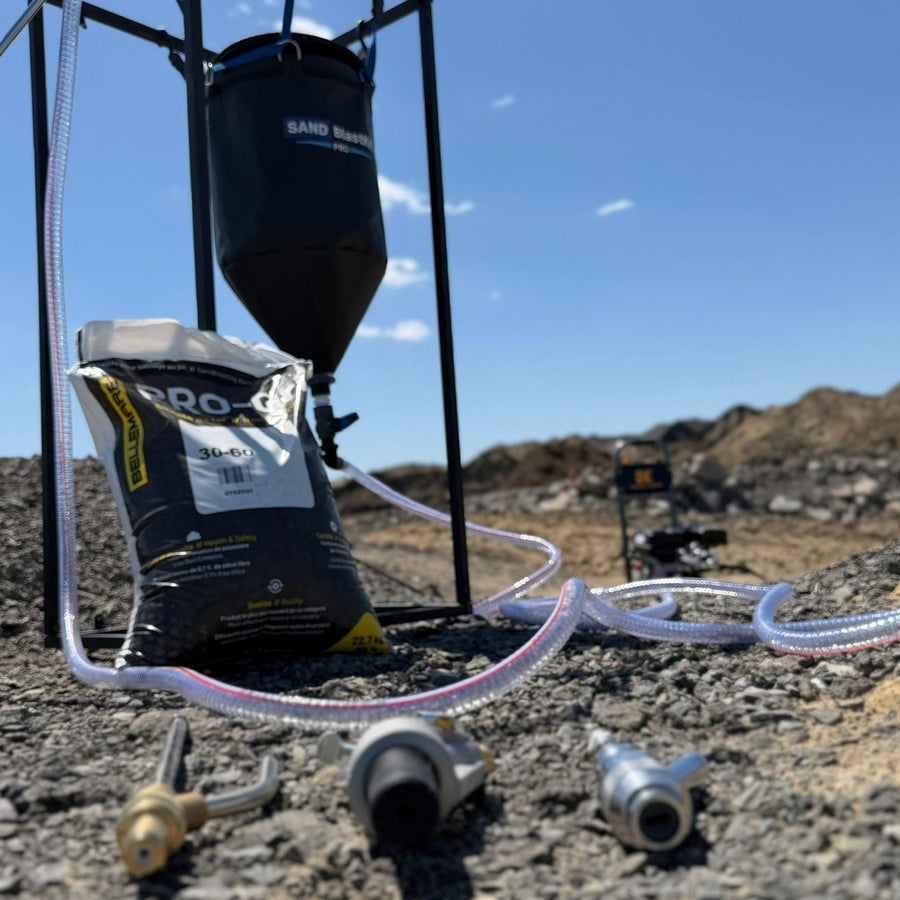
Future Gravity-Fed PVC Bag System
For the best flow, we are also building a gravity-fed media system
The goal is to make media feeding easier, cleaner, and more consistent
Instead of fighting with a bucket, the media sits in a raised bag and feeds down naturally.
This helps with:
- Better media flow
- Less clogging
- Less digging in the bucket
- More consistent suction
- Easier blasting on bigger jobs
This system is being built for users who want a cleaner, more serious blasting setup.
Reuse And Save Media
A lot of media gets wasted if you blast directly onto the ground.
That adds up fast.
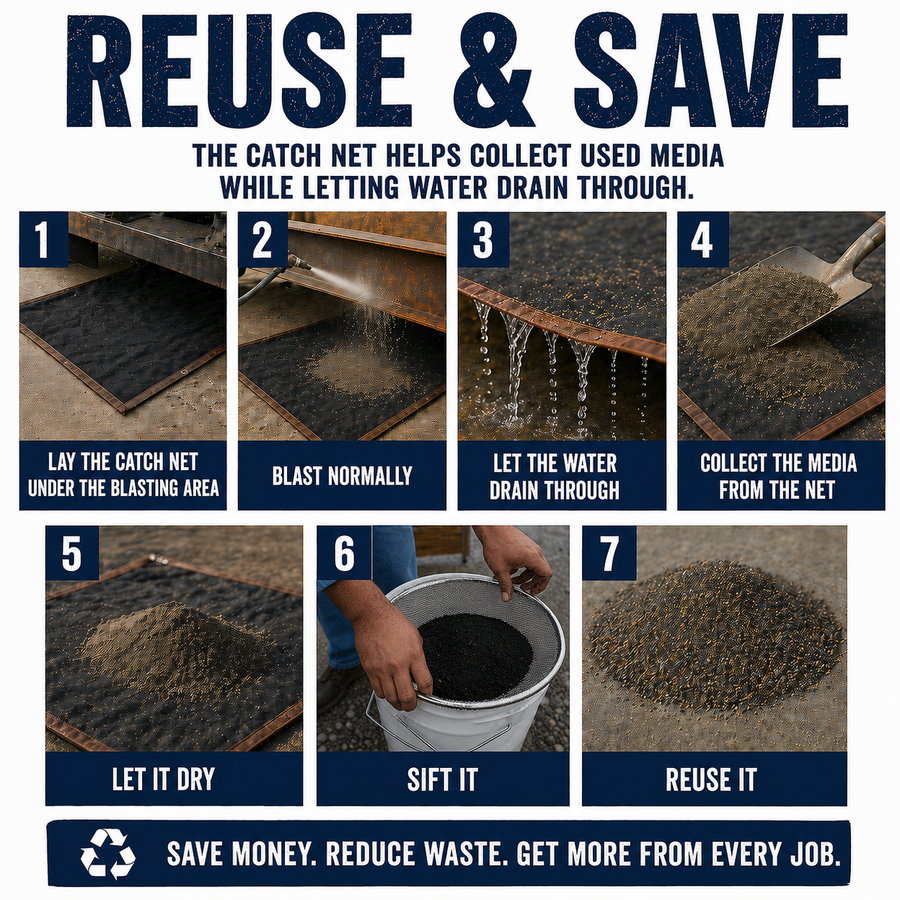
Use The SandblastKit Catch Net
The catch net helps collect used media while letting water drain through.
The process is simple:
- Lay the catch net under the blasting area
- Blast normally
- Let the water drain through
- Collect the media from the net
- Let it dry
- Sift it
- Reuse it
This helps save money and keeps the job cleaner.
Important
Never reuse media without sifting it first.
Used media can collect:
- Paint chips
- Rust flakes
- Rocks
- Dirt
- Wet clumps
- Metal pieces
If you put that back through the kit, it can clog the system or wear the nozzle faster.
Get The Most Out Of Your Kit
More PSI helps, but flow matters a lot.
A good blasting setup needs both pressure and water flow.
For most jobs, the sweet spot is usually:
- 2,500 to 3,000 PSI for regular blasting
- 3,000+ PSI with good GPM for heavier work
Do not only chase PSI.
A pressure washer with better water flow can often blast better than a higher PSI machine with poor flow.
Distance Control
Distance controls how aggressive the blast is.
Closer = more aggressive
Further away = softer and safer
For heavy rust, move closer.
For thinner metal, panels, or softer surfaces, start further back and slowly dial it in.
Let the media do the work.
Nozzle Control
Your nozzle controls the blast pattern.
A worn nozzle can make a good setup feel weak.
Signs your nozzle may be worn:
- Blast pattern gets wider
- Cutting power drops
- Media use increases
- Rust takes longer to remove
- Pressure feels weaker
- Stream feels less focused
Ceramic nozzles are good for normal use.
Carbide nozzles are better for longer jobs, aggressive media, and consistent cutting power.
Focused Round Stream vs Fan Stream
A focused round stream gives stronger cutting power.
Best for:
- Seams
- Pitted metal
- Corners
- Rust pockets
- Frames
- Tight areas
A fan stream gives wider coverage.
Best for:
- Large panels
- Flat surfaces
- Trailers
- Bigger areas
- Faster coverage
Use the right nozzle for the job.
Blast The Surface Properly
Work in sections.
Do not rush the job.
Focus on:
- Flat surfaces
- Edges
- Seams
- Corners
- Frame rails
- Tight spots
- Hard-to-reach areas
The advantage of wet blasting is that it gets into areas grinders and sanders usually miss.
Wet blasting also helps reduce dust compared to dry blasting and keeps the metal cooler during the job.
Pro Tip
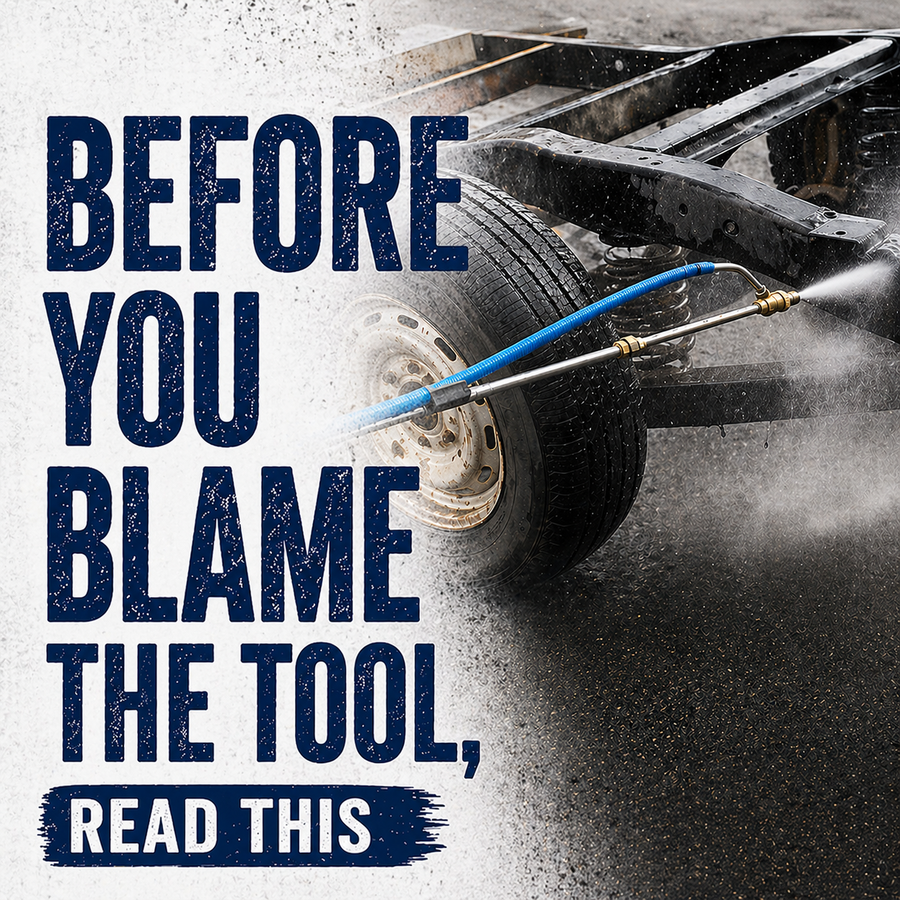
If the kit feels weak, check these before blaming the tool:
- Is the media dry?
- Is the media sifted?
- Is the pickup tube buried too deep?
- Is the nozzle worn?
- Is the pressure washer getting enough water?
- Is the media too heavy or wet?
- Is the hose clogged?
Most blasting problems come from flow, media, or nozzle wear.
Deep Clean After Blasting
A lot of people forget this step.
After blasting, sand can stay trapped in:
- Frame rails
- Corners
- Seams
- Panels
- Crossmembers
- Radiators
- Tight body gaps
- Brackets
- Wheel wells
You need to clean this out properly before applying protection, primer, or paint.
Do not paint over trapped sand, wet spots, or grease.
Pressure Booster Gun
Use the booster gun to rinse and push sand out of tight areas.
Good for:
- Panels
- Corners
- Wheel wells
- Tight gaps
- General cleanup
- Larger rinse areas
The different spray patterns help you clean wide areas or focus pressure into smaller spots.
Needle Nozzles
Needle-style nozzles help reach tight spaces.
Good for:
- Between panels
- Frame holes
- Seams
- Small cracks
- Tight corners
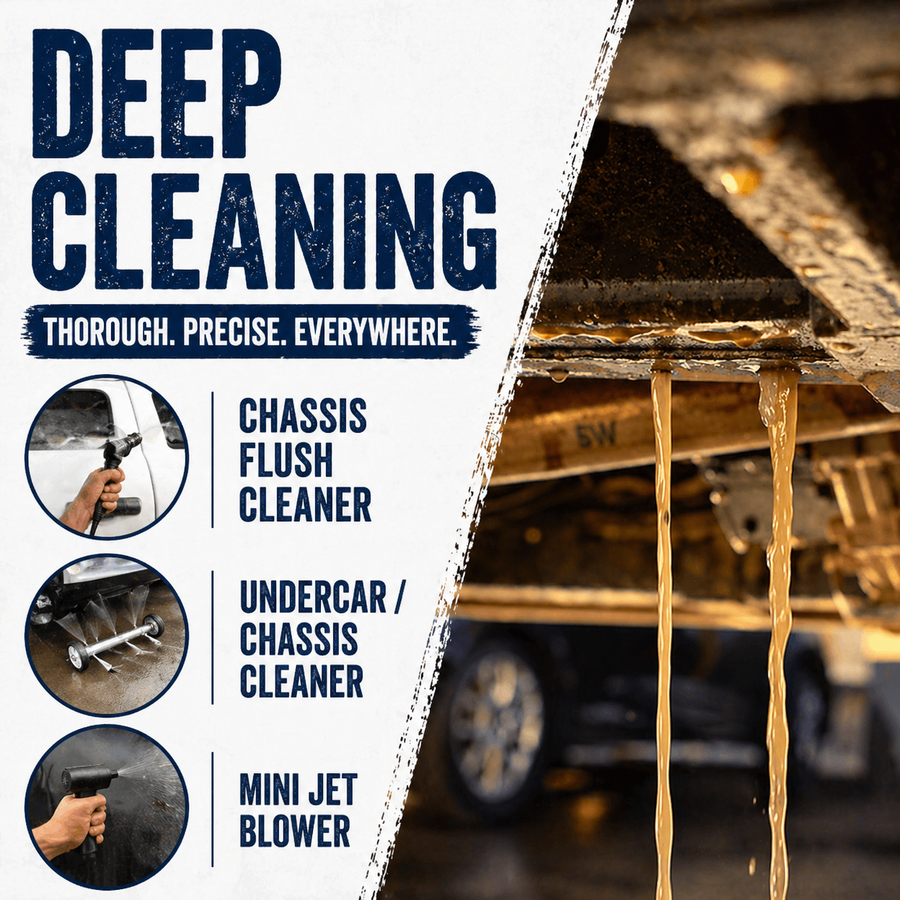
Chassis Flush Kit
Use this when blasting frames or chassis.
It helps push sand, debris, and water out from inside the frame rails.
This is important because trapped sand can cause problems later.
Undercar / Chassis Cleaner
This is the roller-style pressure washer attachment that sprays upward under the vehicle.
Good for:
- Undercarriage cleanup
- Chassis cleanup
- Removing leftover sand and debris underneath
- Cleaning larger bottom surfaces
Dry Everything Properly
After cleanup, dry the surface well.
Use:
- Air blower
- Compressed air
- Dry towels
- Sunlight if available
- Vacuum where needed
For hidden areas, vibration can help move trapped sand out.
Some mechanics use vibrating tools to shake sand down into one area so it can be blown out or vacuumed up.
The goal is simple:
Remove trapped sand, dry the metal, and make sure nothing is sitting inside cracks, seams, or rails.
Prevent Flash Rust, Then Prime And Finish
After wet blasting, bare metal can flash rust quickly.
That does not mean the job failed.
It just means the metal needs to be treated after blasting.
AP1 Conversion Coating
AP1 is a phosphoric-acid-based conversion coating.
Use AP1 when you want deeper prep.
It helps convert remaining oxidation and reduce the red rust hue that can show up after blasting.
Best for:
- Flash rust
- Surface oxidation
- Deeper prep
- Bare metal before coating
- Cleaner surface preparation
Rust Inhibitor
Rust inhibitor helps convert light oxidation and leaves a temporary protective layer on the metal.
This gives you up to about one week of protection before painting or finishing.
Use rust inhibitor when:
- You are not painting right away
- You want to stop flash rust
- You need time before primer
- You want temporary protection after blasting
Correct Order
Use this order:
- Blast
- Rinse and clean
- Remove trapped sand
- Dry the surface
- Use AP1 if needed
- Use rust inhibitor for temporary protection
- Prime and finish
Before You Paint
Make sure:
- Surface is clean
- Surface is dry
- Flash rust is controlled
- All sand is removed
- Grease is gone
- Metal is ready for coating
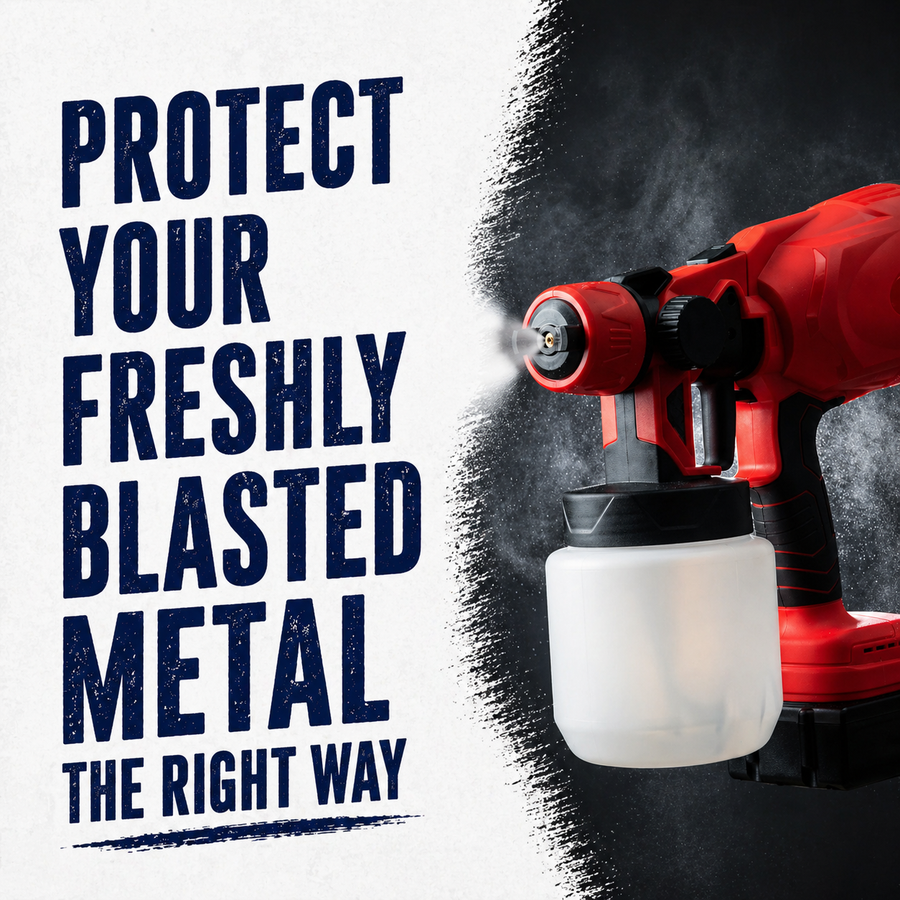
You can use a spray gun or paint system to apply primer and finish coat.
Do not paint over trapped sand, grease, moisture, or loose oxidation.